Keeping indoor humidity at the right level is essential not only for your home but also for your health. A lot of water vapor in the air can cause several problems such as the appearance of mold, damage to the base of the house, and the indoor air being of poor quality. For those living in a house who are looking for an all-in-one solution, systems for dehumidification throughout the whole house come as a very trustworthy and effective means to control humidity in your entire living area. This guide will provide you with the required clarity and expertise for successful installation.
Understanding Dehumidifiers
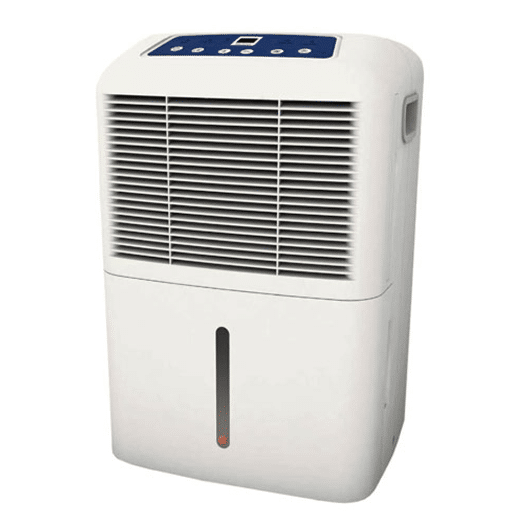
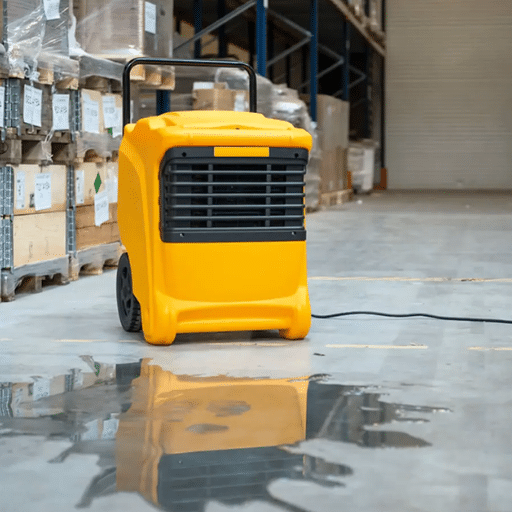
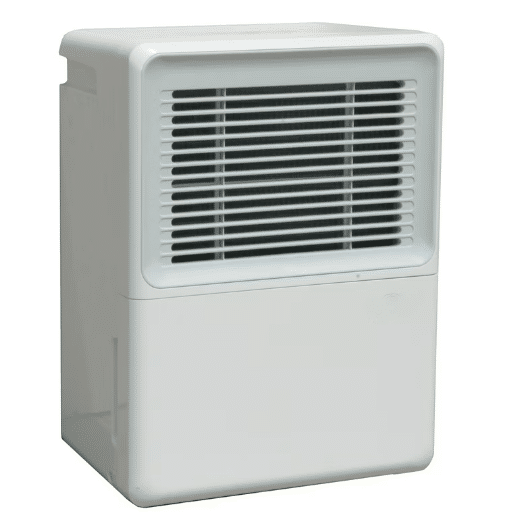
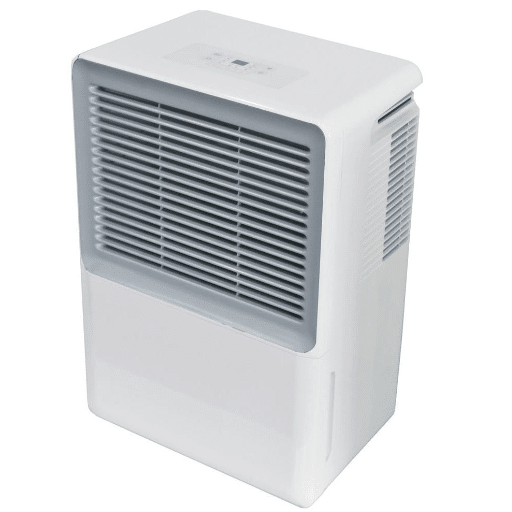
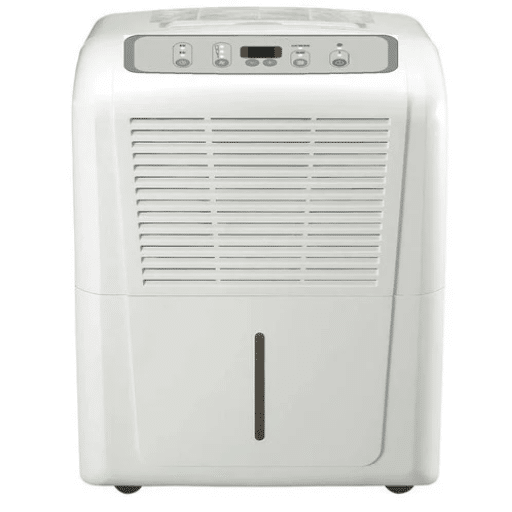
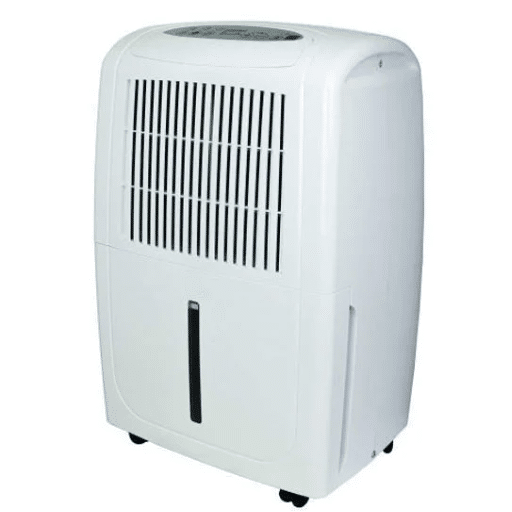
A dehumidifier can be defined as an appliance that primarily removes excess humidity from the air and maintains the reduced level of moisture in the air, thereby enhancing the quality of air and preventing problems like mold development and condensation. The process involves pulling in air with a high level of moisture, cooling it until the water vapor turns into liquid, then warming and letting the drier air back into the room. Dehumidifiers are typically installed in the basement, bath, or places affected by high moisture.
What is a Dehumidifier?
A dehumidifier is an appliance meant for this purpose specifically, that is to reduce indoor humidity to acceptable levels and also maintain that level. It works by pulling moisture from the air, using a sophisticated combination of processes like the cooling and heating of air. The machine first takes in the humid air, usually with the help of a fan, and then it cools the air down by passing it over cold coils, thus leading to the conversion of the water vapor in the air to water.
How Dehumidifiers Work:
Step 1: Air Intake
A fan pulls humid air into the dehumidifier unit.
Step 2: Cooling Process
Air passes over cold coils, causing water vapor to condense into liquid water.
Step 3: Water Collection
Condensed water is collected in a removable container or drained through a pipe.
Step 4: Air Release
Dried air is slightly heated and released back into the room.
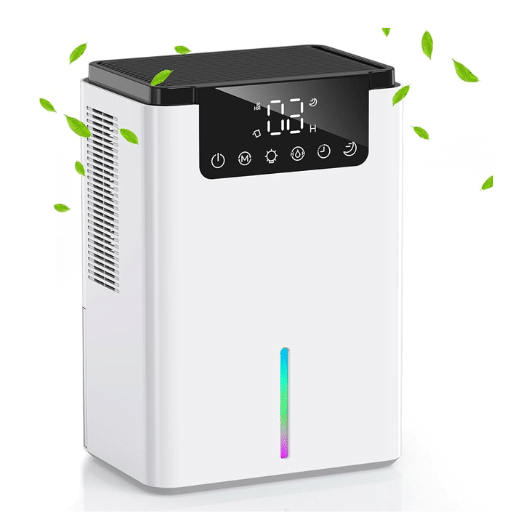
Types of Dehumidifiers
| Type | Operating Temperature | Best Applications | Key Features |
|---|---|---|---|
| Refrigerant (Compressing) | 59°F (15°C) or higher | Warm, humid areas; basements; residential spaces | Most widely used; efficient moisture removal |
| Desiccant | Below 41°F (5°C) | Cold regions; industrial storage; unheated spaces | Uses silica gel; works in low temperatures |
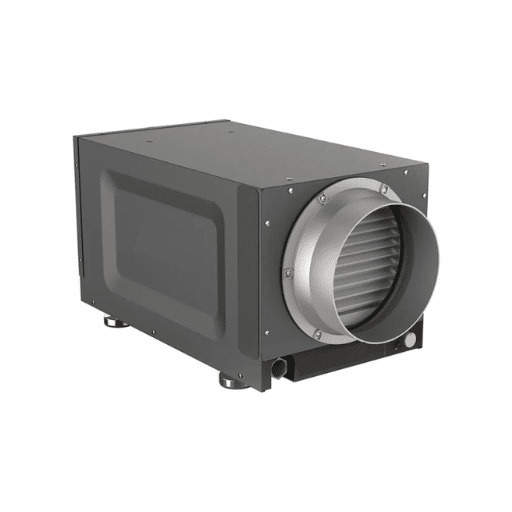
| Whole-House | Variable | Entire residential/commercial buildings | Integrated with HVAC; large-scale control; energy-efficient |
Benefits of Dehumidifiers in Your Home
🛡️ Mold & Mildew Prevention
Reduces moisture levels that allow mold, mildew, and dust mites to thrive, eliminating respiratory health risks.
🏠 Structural Protection
Prevents wood warping, paint peeling, and metal corrosion by maintaining optimal moisture levels.
💨 Improved Air Quality
Reduces allergens and creates a healthier indoor environment, especially beneficial for asthma and allergy sufferers.
⚡ Energy Efficiency
Reduces workload on air conditioning systems, leading to lower energy bills and longer HVAC system lifespan.
🎯 Smart Integration
Modern systems integrate with HVAC setups for precise humidity control and optimized energy consumption.
Factors to Consider Before Installation
Before installing a whole-house dehumidifier system, several important factors must be evaluated to ensure optimal performance and efficiency.
🌍 Humidity Levels in Your Region
The first thing to do is to find out the average humidity level of your place. More robust dehumidification systems will be required if you are in coastal or tropical areas where humidity is high. Search trends show increasing queries for “humidity solutions in high-moisture areas,” pointing to a developing need for specialized solutions.
📐 Square Footage
The area to be dehumidified is an essential factor in the selection of the unit. Whole-house dehumidifiers that connect with the HVAC system should be in larger homes or commercial spaces, while only portable units may be enough for smaller spaces.
⭐ Energy Efficiency and Operating Costs
The rate of energy consumption is a vital factor that influences the long-term operating costs of the unit greatly. Energy Star-certified models are definitely the ones to look for, as they are low in energy consumption while performance is still very effective.
🔧 Maintenance Requirements
Nowadays, systems with filters that are easily accessible and with automated features such as continuous draining or built-in humidistats are highly prized. There has been a consistent increase in the number of searches for “low-maintenance dehumidifier options.”
🔇 Noise Levels
The noise from the dehumidifier can be an issue, especially if it is placed in bedrooms or living areas. Try different models based on decibel ratings, as the quieter units may be more appropriate for such areas.
Assessing Humidity Levels
Humidity can be measured with a hygrometer, which is a gadget that measures how much water vapor is in the air. The recommended range for indoor humidity is usually between 30% and 50%. Walk outside this area, and you could cause some trouble, like the growth of mold or air becoming too dry, which would be a discomfort and a quality issue of the indoor air.
📊 Ideal Humidity Ranges:
- Optimal Range: 30% – 50% relative humidity
- Too High (>60%): Risk of mold growth, dust mites, condensation
- Too Low (<30%): Dry skin, respiratory discomfort, static electricity
- Measurement Tool: Use a hygrometer for accurate readings
Choosing the Right Size for Your Space
To decide what size dehumidifier is perfect for your area, a lot of technical factors should be analyzed to achieve the highest possible effectiveness and efficiency. The most important parameter among these is the square footage of the room. Because the devices are rated for specific coverage areas that are measured in square feet, it is essential to match your room dimensions with the required device capacity.
| Space Size | Capacity Needed | Recommended Type |
|---|---|---|
| Under 250 sq ft | Small capacity | Portable, personal-sized units |
| 300-500 sq ft | Medium capacity | Standard portable dehumidifiers |
| Over 1,000 sq ft | Large capacity (pint rating) | Large-capacity or whole-house systems |
| Entire home | Whole-house capacity | HVAC-integrated whole-house dehumidifier |
Evaluating Your Home’s Ventilation
The proper assessment of the ventilation of your house is very important in securing the highest indoor air quality and the greatest energy efficiency. It is necessary to first recognize the signs of bad ventilation such as constant dampness, the occurrence of mold or unpleasant odors before going into detailed testing of the ventilation system.
🔍 Ventilation Assessment Methods:
- Use an anemometer to measure airflow rates
- Conduct a professional blower door test to locate leaks
- Check CO2 levels with detectors (high levels indicate poor ventilation)
- Look for signs: dampness, mold, musty odors
- Ensure proper air circulation for dehumidifier effectiveness
Preparing for Dehumidifier Installation
For a dehumidifier to perform at its best and also be very efficient, the preparation and placement must be perfect in every aspect. The first step is to find the room in your house that has the most humidity. This can easily be accomplished by a hygrometer that indicates how much moisture there is in the air.
Identifying the Best Location
📍 Optimal Placement Guidelines:
Best Locations:
- Central, open areas of the building
- Basements (most common humidity problem area)
- Crawl spaces
- Laundry rooms
- Bathrooms
- Near HVAC intake for whole-house systems
Placement Requirements:
- Maintain 6-12 inches clearance from walls and furniture
- Ensure level surface for proper operation
- Position near moisture sources when possible
- Provide adequate space for air circulation
- Access to proper electrical outlet
Planning for Drainage Solutions
It is imperative to accordingly plan drainage systems using both traditional methods and modern data analytics tools. Recent trends reveal that queries about “efficient drainage systems” and “sustainable water management solutions” have gained significant volume, showing that the public is getting intensely aware of proper water management.
💧 Drainage Considerations:
- Assess local geography and soil permeability
- Plan for continuous drain hose connections
- Ensure proper slope for gravity-fed drainage
- Consider drain location: floor drain, sink, or exterior
- Use permeable materials and detention basins where applicable
- Install pump systems for areas without gravity drainage
Necessary Tools and Equipment
🔧 Essential Installation Tools:
Basic Tools
- Screwdrivers
- Wrenches
- Level
- Measuring tape
Ductwork Tools
- Tin snips
- Metal cutting saw
- Foil tape/mastic
- Duct sealant
Electrical Tools
- Wire strippers
- Voltage tester
- Circuit tester
- Cable clamps
Plumbing Tools
- Drain hose
- Pipe fittings
- Clamps
- PVC cutter
Steps to Install a Whole-House Dehumidifier
Installing a whole-house dehumidifier requires careful planning and execution. Follow these comprehensive steps for successful installation.
Step-by-Step Installation Process
Step 1: Assess HVAC Compatibility
Check duct size and airflow capacity, and make sure the electrical system is ready for the additional load. A professional inspection might be necessary to get a correct assessment.
Step 2: Select Dehumidifier
Based on the area of the house, the humidity range, and the energy efficiency rating, you can select a dehumidifier. Currently, most dehumidifiers are rated using the ENERGY STAR label, which marks not only higher performance but also the reduced operational costs as well.
Step 3: Choose Installation Location
The usual place for the dehumidifier is near the HVAC system (furnace or air handler) for effective connection to the return ductwork. Additionally, the site should have electricity and drainage that is easy to access.
Step 4: Prepare Ductwork for Connection
Cut an opening to install the inlet for the dehumidifier. To make the air-conditioning (or heating) of the room more efficient, the output of the dehumidifier should be connected to the supply or return duct, which establishes a looped circulation system that filters and dehumidifies air throughout the home.
Step 5: Create Drainage System
Water that the dehumidifier has collected will need to be drained off. This usually means connecting a pipe or tubing from the dehumidifier to a sink, floor drain, or pumping station. If it’s a gravity-fed system, the drain must be pitched to avoid clogged drains.
Step 6: Connect Electrical Wiring
The dehumidifier can be hardwired to the electrical system or plugged into the appropriate outlet. Following local electrical codes is a must, and a licensed electrician may be needed to carry out the wiring so that circuit overloads do not occur.
Step 7: Configure Control Settings
The control system for the dehumidifier can be connected to the thermostat of your home HVAC system or you can use the controls on the unit. Set the humidity levels according to the standards of indoor comfort which are usually 30-50%.
Step 8: Test the System
Switch on the dehumidifier and monitor its operation through a few cycles. It should not be so powerful that it causes stress on the HVAC system. Make sure that the drainage and airflow functions work according to the manufacturer specifications.
Step 9: Schedule Regular Maintenance
The system should be serviced regularly in terms of cleaning or replacing filters, unclogging drain pipes, and checking for leaks or other operational problems. Intervals of professional servicing may not only extend the system’s life but also keep its performance at peak level.
Connecting to the HVAC System
Connecting to an HVAC system in an efficient way requires the adherence to both the manufacturer’s guidelines and the best practices in the industry. Make sure that parts that can be integrated with each other like thermostats or smart controllers are picked according to the system specifications. Start with the identification of the system type (for example, split-system, ductless, or centralized) and the corresponding compatibility requirements.
⚠️ Critical Connection Points:
- Verify system type compatibility (split-system, ductless, centralized)
- Check wiring connections correspond with marked terminals
- Use Wi-Fi-enabled thermostats for smart integration (e.g., Google Nest)
- Protect network connections with encryption
- Follow IoT device standard protocols for cybersecurity
- Conduct proper configuration and testing after installation
Installing the Supply Plenum and Ductwork
Precisely measuring, properly aligning, and wisely selecting materials are the key factors to HVAC system efficiency when installing supply plenum and ductwork. The supply plenum as the central distribution hub has to be firmly connected to the air handler for no air to leak out. All ductworks connected to the plenum should be properly sealed with high-quality sealing methods like foil tape or mastic sealant.
🔧 Ductwork Installation Best Practices:
- Sealing: Use foil tape or mastic sealant (up to 30% energy loss can occur from poor sealing)
- Insulation: Properly insulate ducts in unconditioned areas
- Standards: Follow ASHRAE guidelines for compliance
- Testing: Conduct airflow and pressure checks after installation
- Materials: Select quality materials for longevity and efficiency
Setting Up the Humidity Control System
Properly establishing an effective humidity controlling system involves a number of crucial steps that not only conform to the industry standards but also rely on cutting-edge technologies. At the outset, it is of utmost importance to choose the right kind of humidifier or dehumidifier taking into account not only the specific climate but also the requirements of the building.
| Control Feature | Function | Recommended Setting |
|---|---|---|
| Humidistat | Monitors and maintains humidity levels | 30-50% for optimal comfort |
| Smart Sensors | IoT-enabled real-time monitoring | Auto-adjust based on conditions |
| ASHRAE Standards | Industry compliance guidelines | 30-60% relative humidity range |
| Automation | Energy-saving dynamic response | Enable adaptive algorithms |
Post-Installation Considerations
Monitoring and optimization are key to HVAC systems’ and environmental control setups’ efficiency in the long run and ASHRAE standards’ compliance after their installation. Data analytics powered through advanced IoT-enabled sensors and smart systems already provide real-time performance metrics such as temperature, relative humidity, and energy consumption.
Testing Your New Dehumidifier
✅ Testing Checklist:
1. Placement Verification
Ensure the unit is on a flat, stable surface with adequate space for air circulation.
2. Initial Settings Configuration
Set controls according to manufacturer instructions: humidity setting, fan speed, and operating mode.
3. Performance Monitoring
Track key indicators: ability to maintain desired humidity level, noise output, and power consumption.
4. Energy Efficiency Check
Compare consumption with manufacturer’s Energy Factor (EF) or Integrated Energy Factor (IEF) ratings.
5. Drainage Verification
Confirm proper water collection and drainage system functionality.
Regular Maintenance and Monitoring
Regular maintenance is essential for optimal performance and longevity of your whole-house dehumidifier system. Consumers’ questions regarding the upkeep of energy-efficient appliances have increased significantly, which is a sign of the general public’s concern about sustainability and cost management.
🔄 Maintenance Schedule:
Weekly Tasks
- Check water collection tank and empty if needed
- Inspect drainage system for proper operation
Every 2-3 Weeks
- Clean or replace air filters (can improve efficiency by 15%)
- Sanitize water tank with gentle detergent or vinegar solution
Monthly Tasks
- Inspect drain hose for blockages or leaks
- Check all connections and seals
- Test hygrometer sensor accuracy
Seasonal/Annual Tasks
- Clean evaporator and condenser coils
- Calibrate sensors and valve systems
- Schedule professional inspection
- Check HVAC integration performance
Adjusting Settings for Optimal Performance
Optimizing performance through setting adjustments is a methodical process that uses the combination of user-specific requirements and aggregated, real-time data analytics. The main aspect is the right mixture of factors like power consumption, working time, and conditions of the environment.
⚙️ Optimization Tips:
- Temperature-Based Control: Adjust settings based on room conditions for energy savings
- Eco-Mode Usage: Enable energy-saving presets when appropriate
- Smart Schedules: Program operation times to align with user behavior
- Humidity Range: Maintain 30-50% for optimal comfort and efficiency
- Data Analytics: Use smart monitoring systems for usage pattern insights
- Predictive Algorithms: Enable adaptive algorithms for dynamic environmental response
References
-
Controlling Moisture Problems in Your Home (University of Minnesota Extension)
This resource discusses the use of dehumidifiers to manage indoor moisture and prevent mold growth.
Read more here -
Dehumidifiers (Energy Star)
This guide explains the installation and benefits of whole-home dehumidifiers, including their integration with air ducts.
Read more here
Frequently Asked Questions (FAQ)
What is the best dehumidifier for your house?
Selecting the top dehumidifier for your home is not a straightforward task as it depends on many aspects such as the model of the dehumidifier, the size of the house, and your individual preferences. Much often a whole house dehumidifier is the most powerful solution if you are dealing with large areas or an entire house. On the other hand, if there are only minor moisture problems in a specific area, a portable unit is good enough.
How to instal a whole-house dehumidifier?
The installation of a whole-house dehumidifier is a job for an expert because you can get the best results only if it is done professionally. As a rule, the whole-house dehumidifier is connected to the HVAC system, and drainage is done by a drain hose that leads to either outside or a utility closet. Excellent duct routing is also very important for top performance.
What is the location for the dehumidifier?
The dehumidifier should be installed in the center of the house in order to control the humidity level of the entire home. If the dehumidifier is close to the HVAC intake, it will be able to effectively control the humidity level and thus prevent the growth of mold throughout the household.
How does a dehumidifier prevent mold growth?
A dehumidifier can minimize the chances of mold growing by taking out the moisture in the air and thus making the surrounding air less favorable to the growth of mold. It is necessary to regulate the humidity levels in problem areas consistently and continuously, for example, in the basement or the utility closet.
What should I consider regarding drainage when installing a dehumidifier?
You must consider proper drainage while installing the dehumidifier as it will help in avoiding water accumulation, which may cause a need for repair and thus, will be costly. A drain hose should be positioned in such a way that it directs the water either outside or to a floor drain. This way, the moisture from the house is taken out without any hassle.
Can I do the dehumidifier installation myself?
It is possible to install a dehumidifier without a professional technician; however, it is advisable to have a professional install it so that the unit is properly connected to the HVAC system, and drainage as well as ductwork issues are adequately dealt with.
What are the features of a ducted whole-home dehumidifier?
The ducted whole-home dehumidifier operates very much like the current HVAC system and not only that, it also ensures that dehumidified air circulates evenly in every corner of your home. Along this line, the system will help to keep the humidity at the same level and also enhance the heating and cooling systems’ efficiency which eventually results in lower electricity bills.
How to connect the dehumidifier to the HVAC system?
Typically, you will either place the appliance in the supply plenum or in the HVAC return when connecting a dehumidifier to the HVAC system which helps in making sure that the dehumidifier draws humidity from the air which is then being circulated by the HVAC unit thereby making your home more comfortable overall.
What is the cost of professional dehumidifier ins tallation?
Prices of professional dehumidifier installations depend a lot on the intricacies of the setting up process and the sort of unit being installed. Usually, upfront quotes will encompass the cost of labor and other materials required, but it is best to have many quotes so as to get the best price for your particular installation needs.